To break in new hiking boots for a comfortable trek, start by wearing them indoors for 1-2 hours daily using your trail socks, then progress to short neighborhood walks, gradually increasing both distance and terrain difficulty. Focus on proper lacing and monitor for hotspots. After several days, introduce easy trails and add a loaded backpack, simulating real conditions. Adjust mileage and pack weight gradually; complete a final 3-5 mile hike with full gear before a major outing. Next, you’ll discover more detailed guidelines.
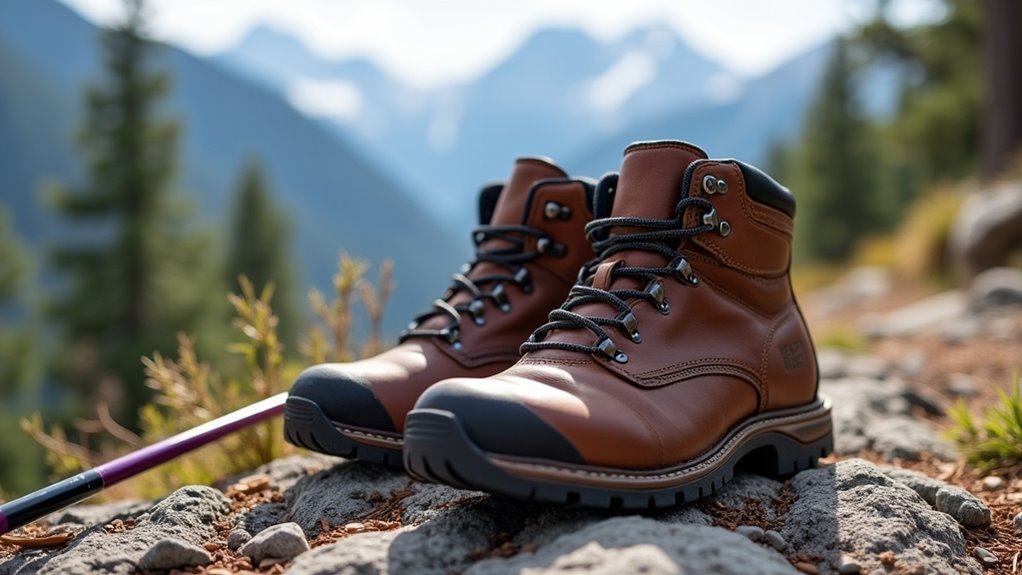
Breaking in new hiking boots is a critical step to guarantee comfort and prevent blisters or hotspots on the trail. The process varies depending on the type of boots you’ve chosen; lightweight hikers usually need minimal break-in time, while full-leather models can require several weeks. Remember, breaking in boots can’t compensate for a poor initial fit, so always start with footwear that matches your foot shape and size.
Breaking in hiking boots is essential for comfort—always start with the right fit and expect more time for full-leather models.
Begin the break-in by wearing your boots indoors for one to two hours daily, using the same thick hiking socks and insoles you’ll use on trails. Pay attention to proper tongue and gusset alignment when lacing, but avoid overtightening, as this can restrict circulation and create pressure points. Proper fit is crucial during the shopping process, so make sure you select boots that offer support without pinching or excessive looseness.
While you complete routine household tasks, monitor for any areas of discomfort or developing hotspots. Once basic comfort is established indoors, progress to short walks around your neighborhood. Use stairs to test the boots’ flex and ankle support, and keep these walks on flat, paved surfaces at first. Hold off on trail use until you’re confident the boots remain comfortable through longer pavement sessions. Gradually increase your walking distance, checking for fatigue or excessive foot stress. The break-in period can last from a few days to several weeks depending on the material of your boots.
A gradual increase in wear time over several days is recommended to help your feet and boots adjust together and minimize the risk of blisters.
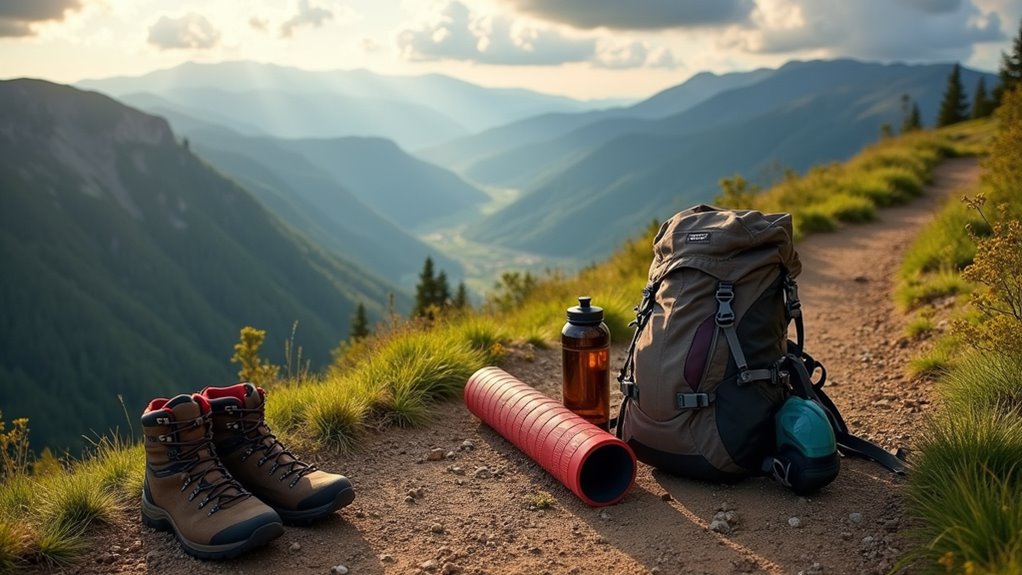
When you’re ready to move onto trails, choose easy terrain and limit initial hikes to one or two miles. Gradually introduce packed dirt or gravel paths, and increase mileage by 10 to 20 percent per outing. Pay attention to how your boots handle moderate inclines and descents, especially noting footbed support and sole flexibility.
To simulate backpacking conditions, carry a daypack starting at 10 to 15 pounds, and slowly increase the load to match your typical trip weight. Test stability on rocky or rooted surfaces, combining weight bearing with elevation gain.
If you’re breaking in leather boots, lightly dampen the uppers before short outings and allow them to dry naturally with newspaper inside—never use heat sources. Conduct a final three to five-mile hike with full gear, confirming there are no hotspots, secure lacing, and no seam or sole failures.
Replace factory insoles if needed, and always verify your boots are fully trail-ready before starting any extended trek.


