
To tie your hiking boots and prevent blisters on the trail, start with standard crisscross lacing for even tension, securing the fit with a firm bow knot at the top. Use specialized techniques like the heel lock or surgeon’s knot to keep your heel in place and avoid slippage, and adjust pressure points with window lacing if needed. Always double knot for security, and make adjustments during the break-in period as your boots mold to your feet. Additional lacing strategies can further optimize comfort and support.
Properly tying your hiking boots is essential for comfort, safety, and foot health on the trail. The standard crisscross lacing method, where you alternate the laces over and under each set of eyelets or hooks, creates even tension across the boot and secures your foot with a bow knot at the top.
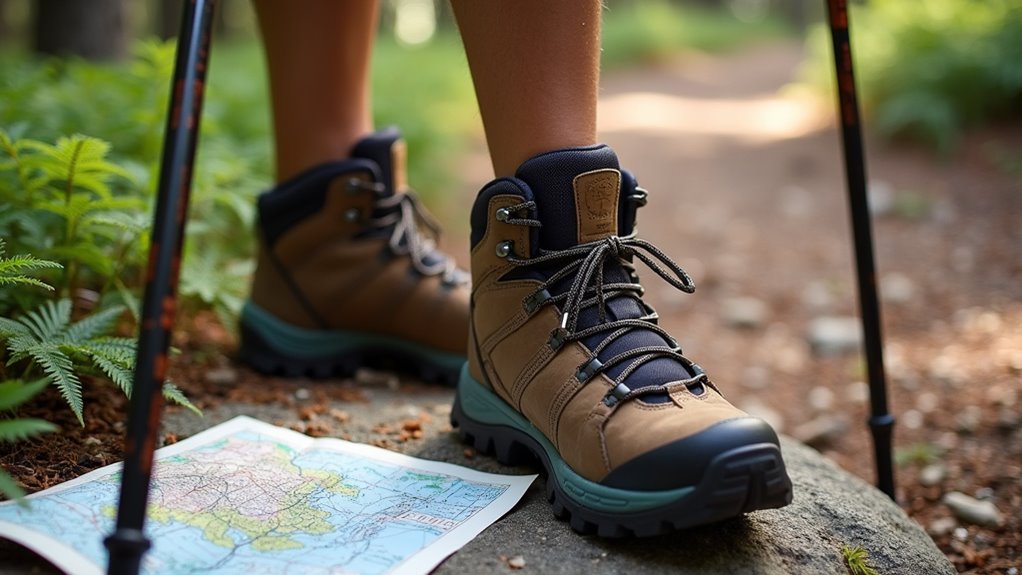
Properly tying your hiking boots with the crisscross lacing method ensures comfort, safety, and support for every step on the trail.
When tying your boots, you must guarantee there’s no slack in the laces, as loose lacing can cause your foot to slide inside the boot and lead to painful blisters. The goal is to achieve a snug fit that’s not so tight it restricts blood flow, but tight enough that your foot doesn’t shift. Different lacing techniques can be used to address specific fit issues, such as providing more support for wide feet or relieving pressure points. At the transition point where your foot curves upward to the ankle, adjusting your lacing technique can help secure your foot and prevent unwanted movement.
If you notice your heel slipping or your toes jamming during a hike, you may need to use specialized techniques. The heel lock, for example, is helpful for securing your foot and preventing both heel slippage and toe jam. To do this, lace your boots normally up to just below the ankle, then run the laces straight up through the quick-lace hooks, instead of crisscrossing.
Pull the laces tight so they lock against each other above the ankle, but don’t over-tighten, as this could restrict circulation. Proper lacing becomes even more important during the break-in period of new hiking shoes, which can range from days to weeks depending on the material.
For additional security around the instep or heel, you can use the surgeon’s knot. Simply cross the laces twice around each other at a specific set of hooks, then pull tight. This technique maintains tension and keeps the laces from loosening, which is particularly useful on technical terrain or long treks.
Pressure relief techniques, such as window lacing, can help prevent blisters from pressure points on the top of your foot. To relieve toe pain, toe-relief lacing adjusts the toe box area for a looser fit. Custom lacing patterns can be used to address individual pressure areas, and professional guidance is recommended for persistent issues.
Always double knot your laces to prevent them from coming undone mid-hike. Using tools like videos or consulting a footwear specialist can help you master these techniques and further reduce your risk of blisters and discomfort.